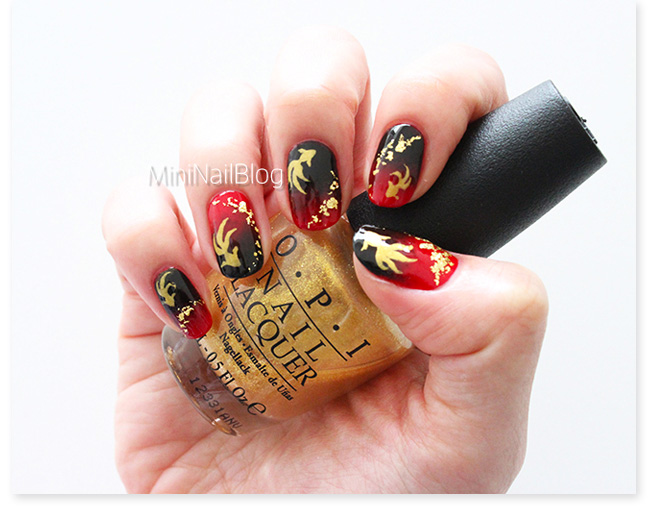
This is the nail art of the day – Japanese style goldfish!
The theme for Day 8 of The 31 Day Challenge was “Metallic Nails”. Instead of painting all of my nails in shimmer, I decided to use actual metal.
The gold flakes I used are real gold and surprisingly edible. My mum gave them to me to decorate my cakes (Yes, I LOVE baking!! Hehe), but unfortunately, I never had a chance to use them and they EXPIRED!!! …sob but lol, sorry mum.
So! Below is the mini tutorial for this goldfish nail art, and I hope you like it 😀
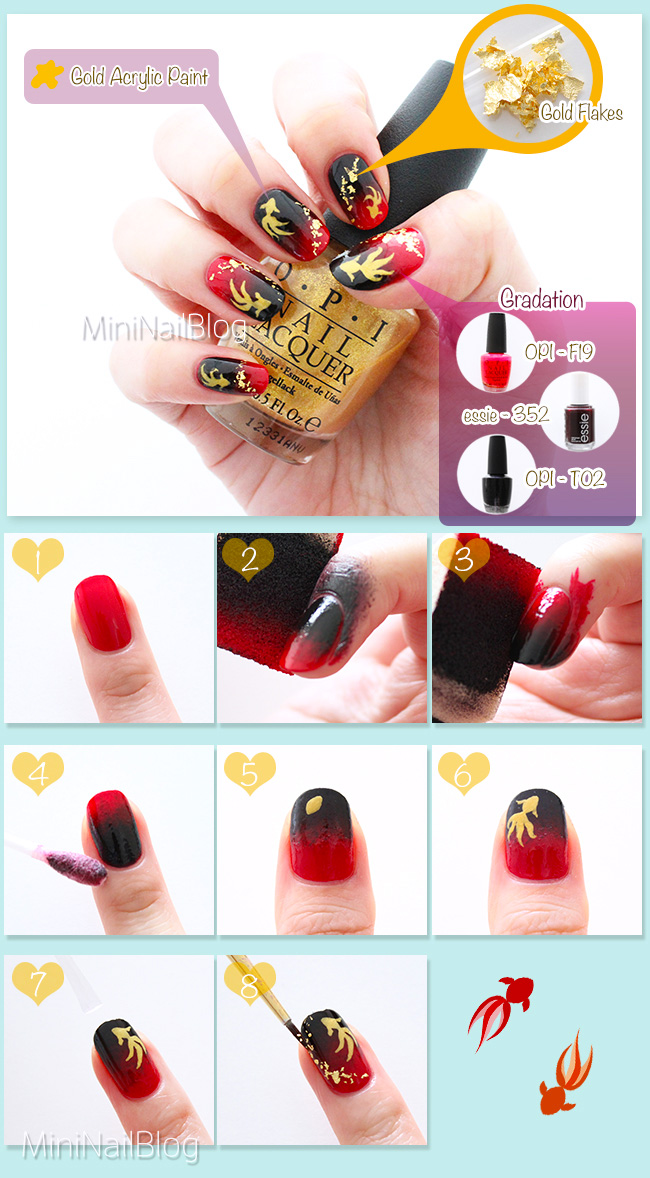
- Apply red nail polish (OPI F19) on all nails. (How to Apply Nail Polish)
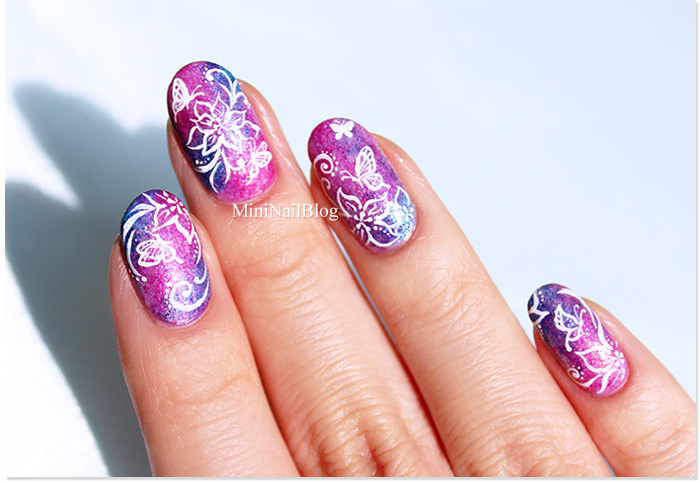
- Apply the three polishes – red, dark purple (essie 352) and black nail polish (OPI T02) on a make up sponge and dab onto the nail to create a gradation effect.
- Turn the sponge upside down and create an opposite gradation effect on the thumb and ring fingers.
- Clean up the skin and cuticle area with nail polish remover.
- Start drawing the goldfish. Draw the head first. (How to Hand Paint)
- Add the tail and fins.
- Apply top coat onto the area where the gold flakes are going to be placed.
- Place gold flakes with a damp paint brush. Apply top coat to seal.
I saw so many people participating in this challenge on IG and they all have AMAZING designs!! It’s so inspiring and sure is a challenge to do this everyday, but it’s fun!!
Thank you for visiting!! <3 xxx


wow, this is really original manicure, i haven’t see anything even remotely similar… absolutely love it 😀
Awww, thank you sooo very much!! So kind of you to say that 😀 <3xxxx
Wow… this is so gorgeous and classy! One of my favorite color combos ever. I especially like that the gold flakes almost look like fish food flakes!
Lol Yeah! They do look like goldfish food xD Thank you for looking so closely!!! <3xxxxx