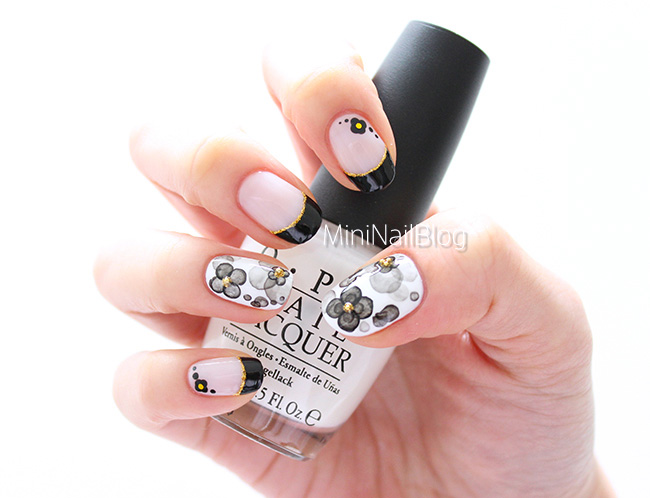
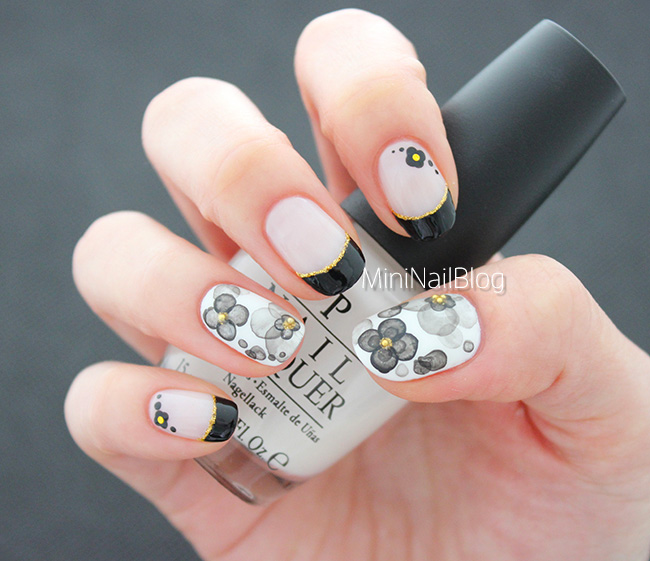
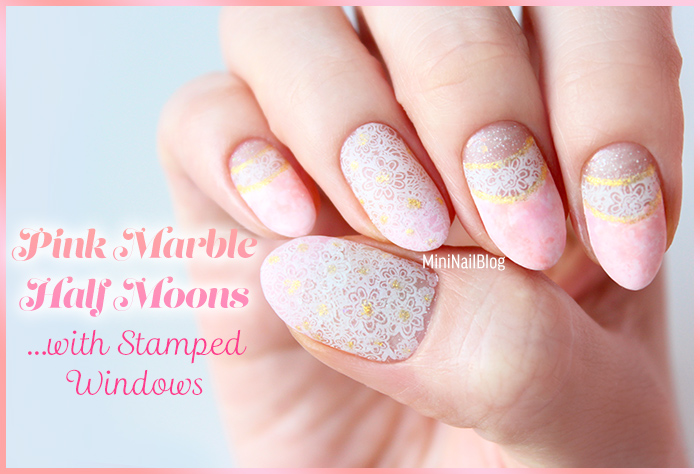
Today’s theme of The 31 Day Challenge is “Black & White Nails”! I decided to do a french look with blurred flower nail art 😀
It was my first attempt to do a blurred nail art. I’m not sure what this technique is called, but I included how I did it in the mini tutorial below! I hope you enjoy!!
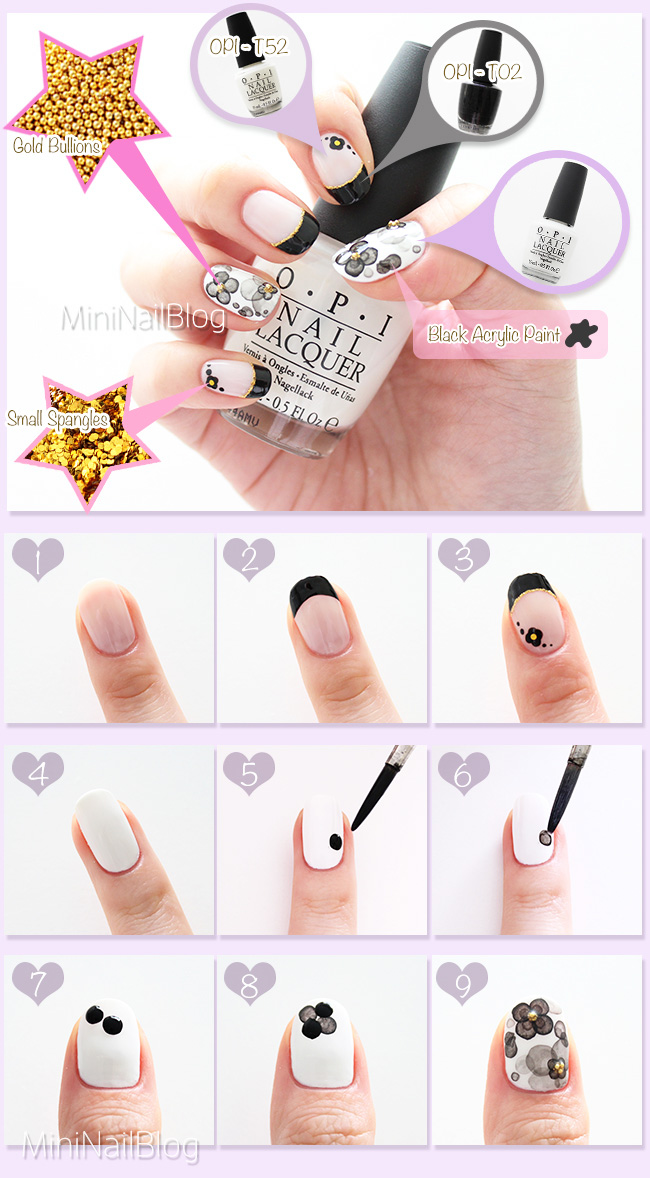
- Apply 2 coats of natural white nail polish (OPI T52) on the index, middle and pinky fingers.
- Create a french look with black polish (OPI T02). (How to do French Manicure)
- Add a gold glitter line along the smile line. Draw a small flower and add a small gold spangle. (How to Place Spangles)
- On the thumb and ring finger, apply white nail polish (OPI L00).
- Place a drop of heavily diluted black acrylic paint.
- Dry the paint brush and absorb the liquid from the drop.
- You can place a few drops at the same time, but make sure they’re not touching each other.
- Allow the first drops to dry before adding more drops.
- You can add more water to the paint to create lighter shades. Add bullion beads and seal with top coat.
What do you think of this technique??
Thank you for visiting!! <3 xx


Sooo beautiful!
Thank you for the tutorial, I’d love to try this nail art on myself 🙂
Love your nails <3
Aww!! Thank you Anastacia!! Yeeess!! Please try, it’ll be wonderful!! XD
Thank you for visiting!!!
absolutely amazing, love what you did on accent nails <3
Thank you very much!! I really appreciate that you always notice those details, it makes my efforts worth while!! <3xxxx