
Hand Painting allows you to design anything you want on your nails.
Below we will use Acrylic Paints because they are easy to draw with and become water resistant when they dry.
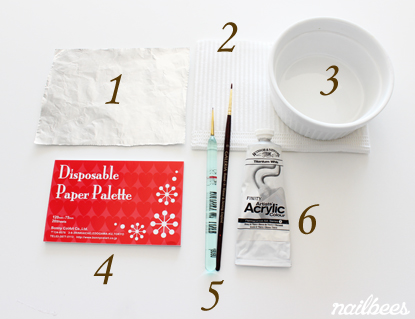
What you need for Hand Painted Nail Art
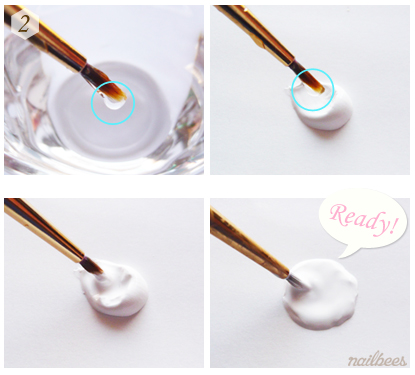
Getting the right consistency
First, let’s get familiar with the right paint to water ratio.
- Squeeze a small amount of acrylic paint onto a sheet of foil or a paper palette.

- Pick some water with a paint brush and drop the water onto the paint. Mix well until the paint becomes smooth.
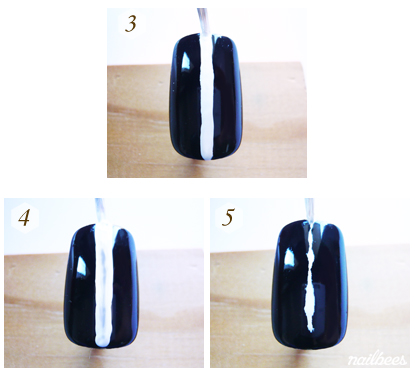
- Try drawing a line on the polished nail.
- If the paint is thick and creates streaks in the line, add some more water.
- If the line has a jagged look or even breaks up, the paint is too thin. Add more paint.
Drawing with various brushes
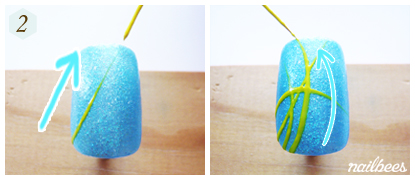
- Start drawing from the background design first. Pick some yellow paint with a long brush.
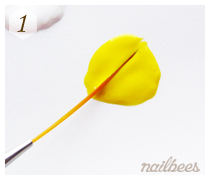
- Draw random lines with light pressure so that the brush hair doesn’t spread.
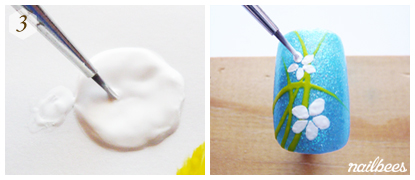
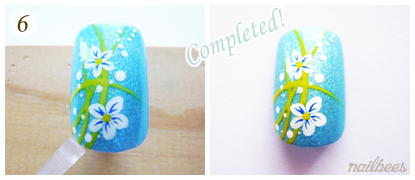
- Draw some flowers with a small brush and white paint. Start with a small dot, and then gradually shape it into a petal shape.
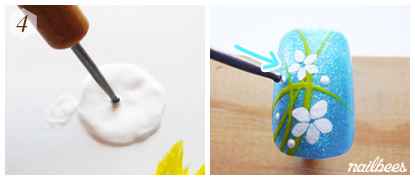
- Add some dots with a dotting tool. Apply onto the nail lightly to avoid digging into the nail polish underneath.
- Add the finer designs with a very small brush.
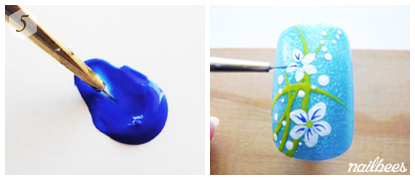
- Allow the paints to dry and apply top coat to complete.
- Make sure to rinse the brush well before the paint gets dry. To avoid damaging the brushes do NOT use nail polish remover to clean them.

Next step in Nail Art – Water Marble


