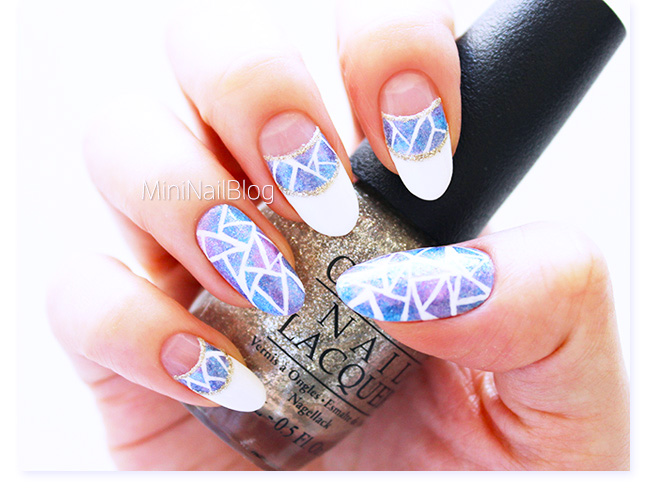
This was my attempt to do a geometric nail art, but they turned out looking more like stained glass nails! Or more like floor tiles because the frames are white. Usually stained glass has black frames, don’t they? Oh well! I’ll try with black next time 😀
The steps to create this design are pretty easy, but a little time consuming with hand painting the lines.
Anyway! If you are interested, here is the mini tutorial of the day!!

- Apply white nail polish to create a rough half moon look. Dry well.
- Place a strip of scotch tape. To create a gradation, apply three different colour polishes with a piece of makeup sponge.
- Clean up the skin with nail polish remover.
- Using white acrylic paint, draw some random lines and fill the bottom corners to create an arch.
- Apply white polish on top to cover the streaks created by the acrylic paint.
- Add gold lines with a dotting tool. Apply top coat to complete.
Little tips:
- If you would like the design to be “Geometric”, draw these lines straight with an even thickness (like my ring finger).
- If you would like it to be “Stained Glass Nails”, you can draw semi-straight lines with different thickness (like my middle finger).
Does that make sense??

I used two of my recent purchases – Bette and Eyre (AGAIN!!) from Picture Polish, and they just sparkle so perfectly!! I stare at them like a jar of lollies lol.
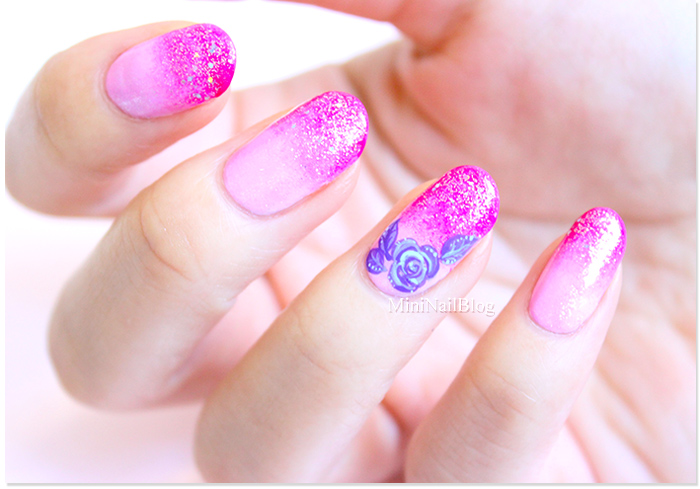
I used these fabulous polishes on this design too! – Snow Nails
Thank you for visiting!! <3xxx


Wow I like this design very much! It’s so cool 🙂
Thank you so much!! Really happy that you think so! 😀
Super cute design i love it!
Aw thank you sweetheart!! 😀