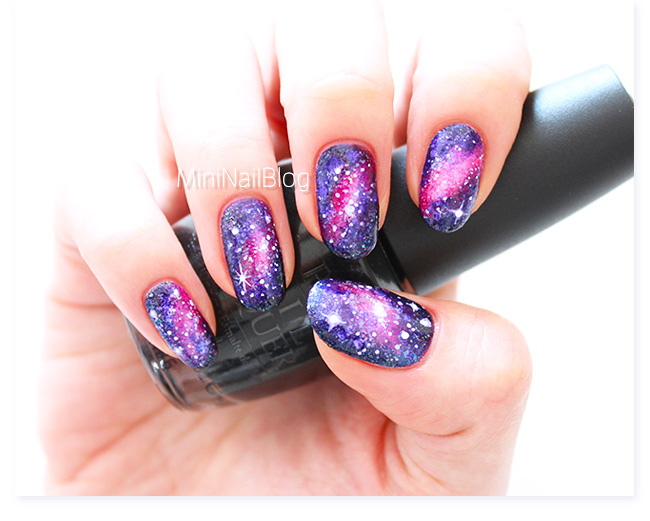
These are my first ever Galaxy Nails!!
The reason why this is my first time (even though galaxy nails are super popular) is simple – IT LOOKS SO HARD TO DO!!! But I was wrong. It wasn’t as bad as I thought and I rather enjoyed the process!
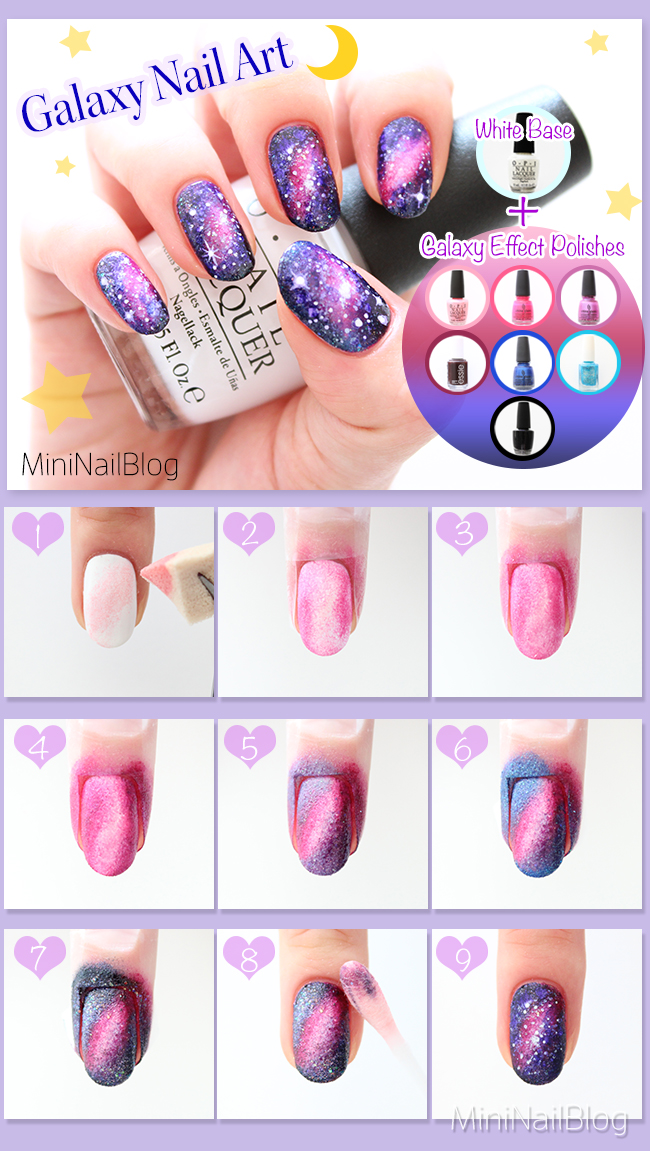
Before moving onto the mini tutorial, I can give you a good tip! Yes, it is going to be a messy creation, so make sure to cover the skin around the nails with scotch tape before you start 😀

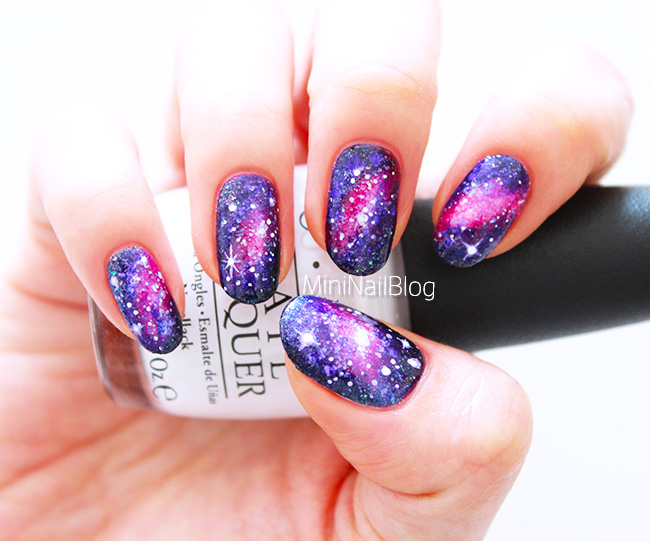
- Apply white nail polish on all nails. Apply the lighter pink with a piece of makeup sponge. (How to Apply Nail Polish)
- Add the darker pink in the same way.
- Continue applying the darker pink until the it becomes strong enough.
- Start mixing purple. Always start with a small amount.
- Mix the previous colour with the darker colour prior to application, which will create a nice colour transition.
- Start applying blue.
- Add a small amount of black around the outside.
- Remove scotch tape and clean the skin.
- Draw stars with white acrylic paint and a dotting tool. Apply top coat to complete.
I’d love to try more galaxy nails with lots of different colour combos!! But for now I have to focus on the challenge ;p
Thank you for visiting!! <3xx


Please list the color names you used!
I made this design a long time ago, and a lot of nail polishes I used for this design are no longer available. I hope you can find the similar colours from different brands 😀