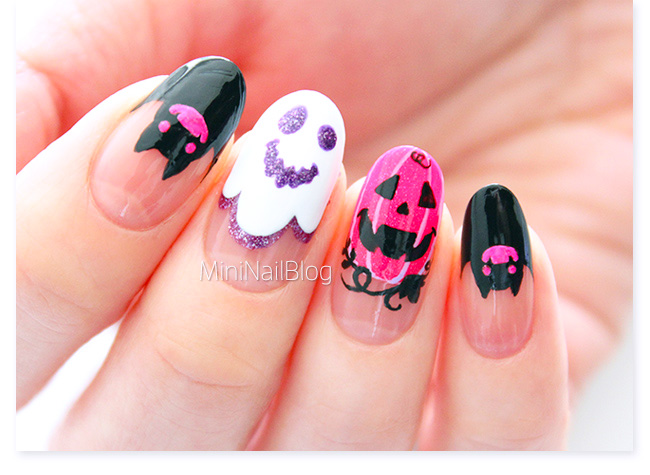
 Just before this happy Halloween period finishes, I’d really like to have a bit more fun with these ghosts and pumpkins!!
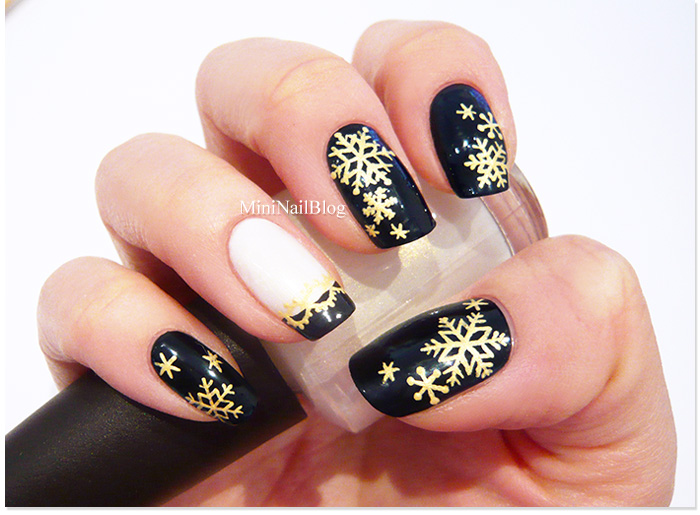
This is a recreation of Halloween Tipped Nails that I did a couple of posts ago. I really liked the design and I had to do it again with a different colour combo.
Here is my Happy Halloween nails mini tutorial. This time I decided to put more detail into the tutorial, so that it’s much easier to follow. I hope you like it!
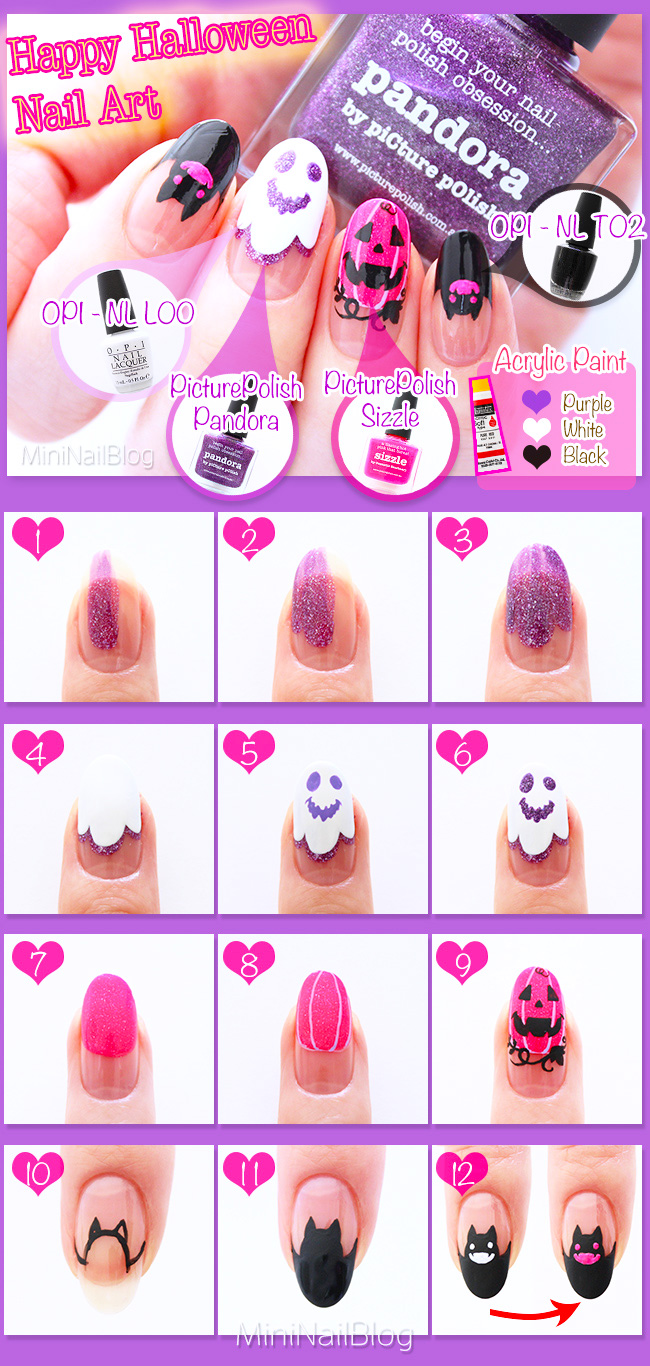
- *Ghost* Apply one stroke of purple nail polish (Picture Polish – Pandora).
- Add another stroke next to the first stroke. Make sure the start of each streak is a rounded shape.
- Apply another streak. The nail polish looks transparent, but don’t worry.
- Apply white polish in the same way, leaving a skinny line of purple polish. (OPI – Alpine Snow)
- Draw the ghost’s face with a pale purple acrylic paint (purple + white).
- Add purple nail polish onto the hand painted face, using a dotting tool.
- *Pumpkin* Apply 2 to 3 coats of pink nail polish, creating a round shape.
- Draw a few vertical lines with a pale purple acrylic paint.
- Draw the pumpkin’s face, some vines and leaves with black acrylic paint.
- *Bats* Draw the outline of the bat with black acrylic paint.
- Fill the shape with black nail polish. (OPI – Black Onyx)
- Draw the bat’s face with white acrylic paint, and then fill in with pink nail polish.
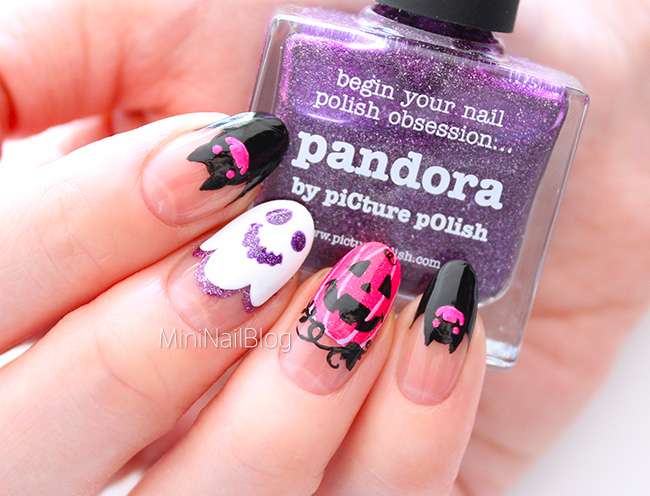 I really like these half painted nails. Even the bats with black nail polish don’t look “too much”. It’s also easy to remove without staining my skin 😀
Thank you for visiting!! <3xxxx


I really like the design how you changed the color and made it more unique and how you added more detail it was easier to follow. 🙂
Thank you so much sweetie!! So glad you think so 😀 <3xxx
love your happy halloween nails 😀
Hehe! Really happy to hear that!! Thank you 😀