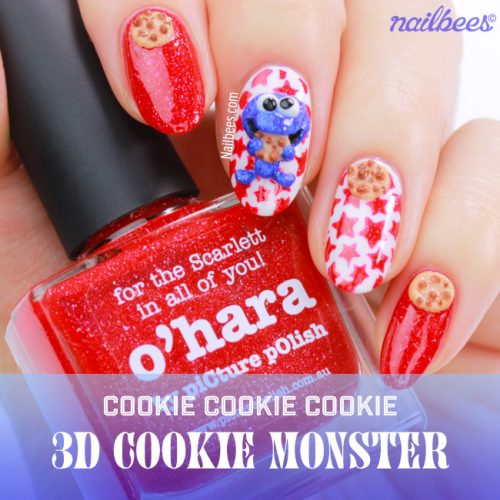
These treat decorations on top of the nail tips are made with acrylic nail products, and this method is called acrylic 3D nail art. They are made separately and then assembled on the nail tips with adhesives such as nail glue or a small amount of acrylic mixture.
Today, I’ll show you the process of how acrylic 3D parts are made by creating a cute reindeer nail art. This is going to be a little bit long, so I separated this tutorial in two parts!
– Acrylic 3D Reindeers Part 1 –
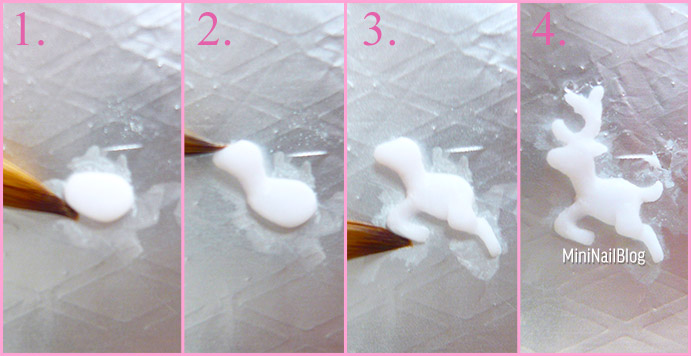
- Place a small ball of white acrylic mixture onto a piece of aluminium foil, and shape it into the body of a reindeer.
- Add the head, blending the neck to the body.
- Add the legs. Keep stroking / shaping the mixture with the brush until it sets in the shape.
- Add the antler, ear and the tail.
Tip: Because one side of aluminium foil is very shiny like a mirror, I always use the other side which is not that shiny. That way, my eyes don’t get tired by the reflection 🙂
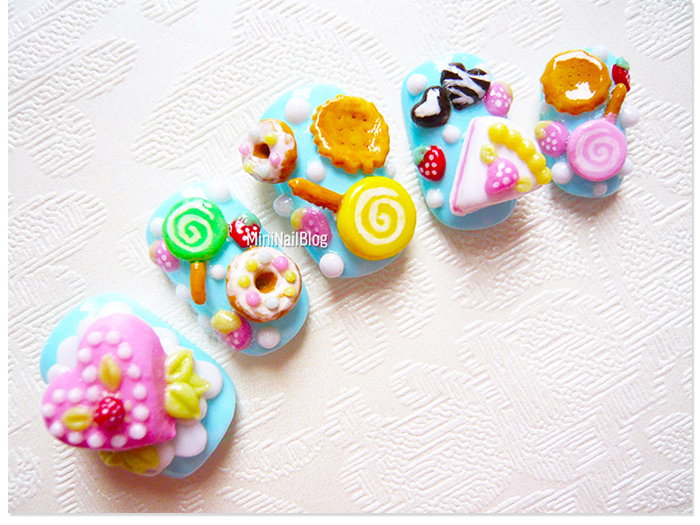
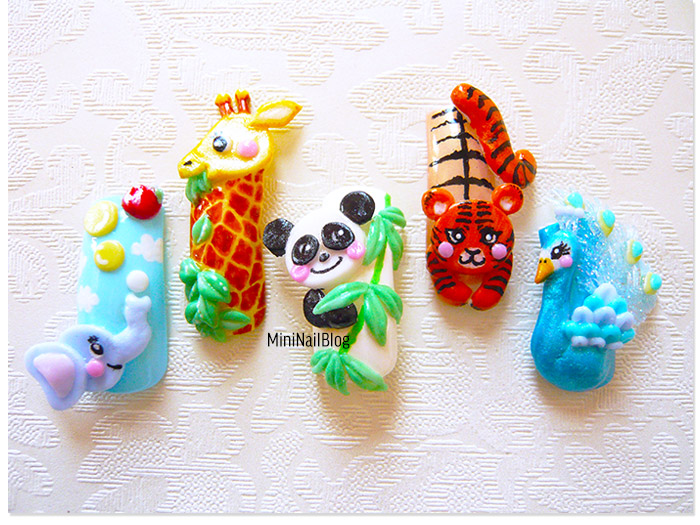
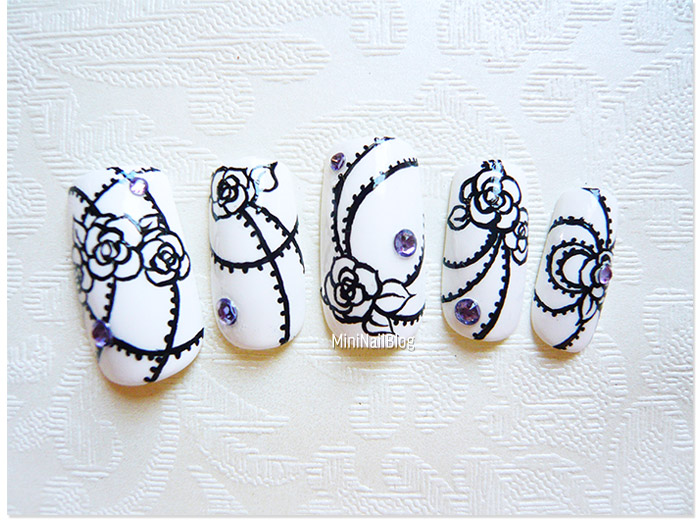
This is another acrylic 3D design I did the other day. I don’t have many of acrylic colour powders, so most of the time, I use white powder to create the parts and then add colours on top using acrylic paint or nail polish.
Thank you for visiting my blog today!!!


I know this is a very old post but …
I absolutely LOVE the pastry nails!!!!
They are so cute!!
<3
Hello!!
Thank you so very much!! I’m going to show you how that design is made on the next post, please have a look!!
Thank you again! (^3^)/smooch!!