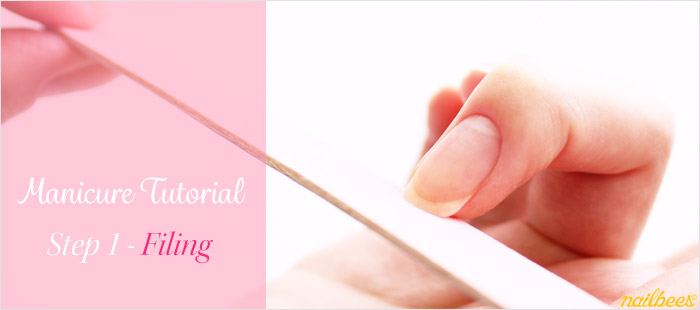
Filing is the easiest way to shape your nails neatly without causing splits or cracks on nails, and looks kinda fancy too. Learn how to file nails and enjoy creating various nail shapes!
What you need
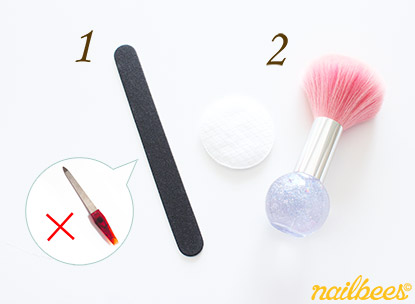
- 180/240 Grit Emery Board or a Glass Nail File (something like this)
- Dust Brush or a piece of cotton
*Please avoid using a metal file as it can damage the nail.
My Youtube Video Tutorials
Oval Nail Shape:
How to File Nails – Technique
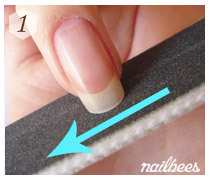
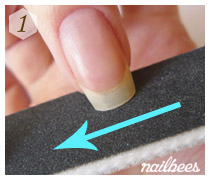
- Hold the emery board lightly between your thumb and index finger. Don’t grasp it

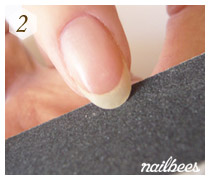
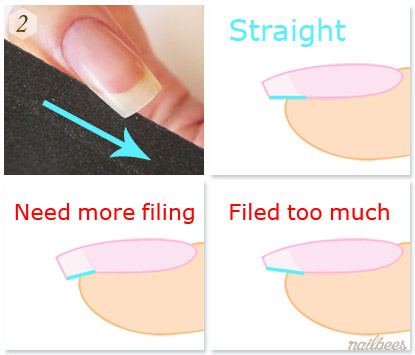
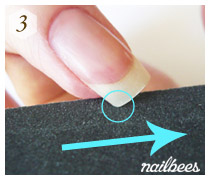
- Keep the emery board at a 45 degree angle at all times

- Start filing the Free Edge of the nail in one direction. Do not file backwards and forwards
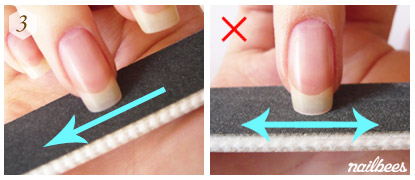
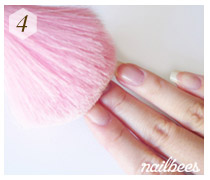
- Remove dust to finish
Various Shapes for Fingernails
There are three common fingernail shapes:
- Round Shape – The easiest shape to make and most natural looking shape. Recommended for thin and weak nails.
- Square Shape – A square shaped nail has a straight free edge with smooth round corners.
- Oval Shape – An egg like shape which makes your nails look elegant and feminine.
1. Round Shape
- File down the free edge to the length you like. Keep the 45 degree angle and file in one direction only.
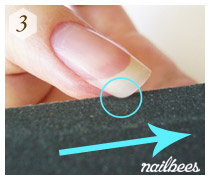
- Gently file under the both sides of the free edge to straighten. Always file towards the free edge.

- File both corners of the free edge to make them smooth and round.
2. Square Shape
- File down the free edge to the length you like. Always file in one direction only.
- File under the both sides of the free edge to straighten.
- File both corners lightly just to take the edge off.
3. Oval Shape
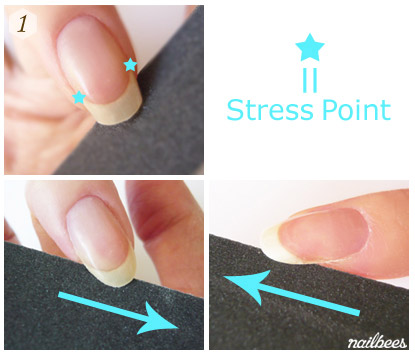
- File from The Stress Point towards the center of the free edge. File the other side of the free edge. Keep the 45 degree angle and file in one direction only.
- File the center of the free edge to make it round and smooth, moving the emery board in one direction only.