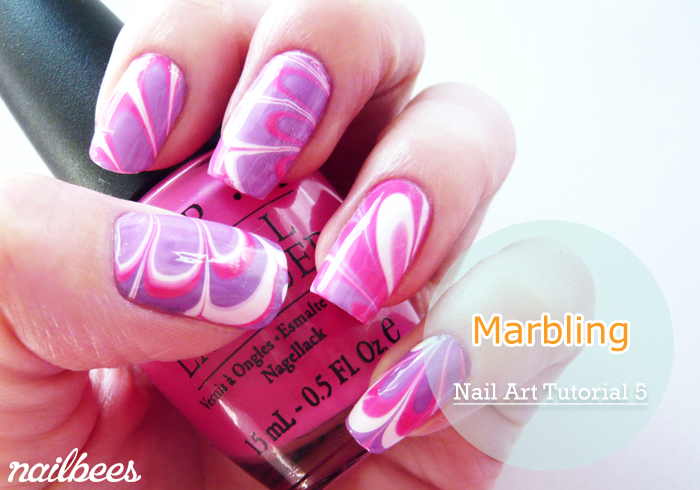
Water Marble is the most fascinating effect that can be created with nail polishes. There are two main techniques:
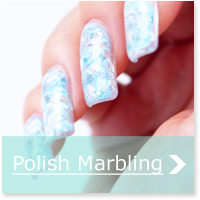
- Nail Polish Marbling
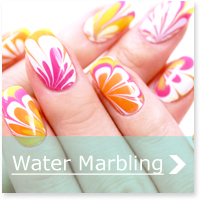
- Water Marbling
Technique 1 – Nail Polish Marbling
What you need
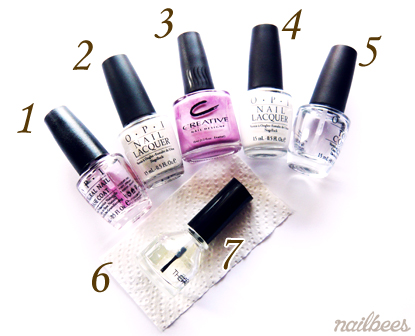
- Base Coat
- Nail Polish to cover the nails
- Nail Polish – Solid Color
- White Nail Polish
- Top Coat
- Paper Towel Pieces
- Old Top Coat
Nail Polish Marbling Procedure
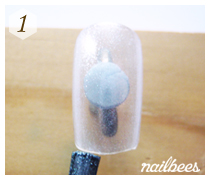
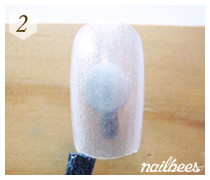
- Apply base coat and a thin coat of nail polish on all nails.
- Apply a thicker coat of the same nail polish on one nail.
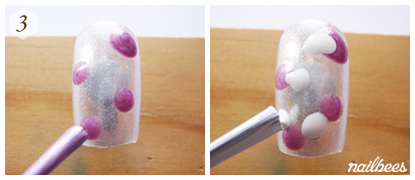
- Quickly place a few drops of different colours before the nail gets dry.
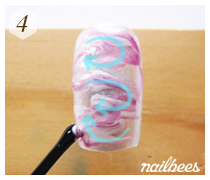
- Lightly drag these dots randomly to create a marbling effect using the old top coat brush. Do not mix them too much or the marbling will disappear.
- Wipe the top coat brush with a paper towel piece before putting it back into the bottle.
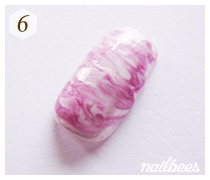
- Wait for the marbling to settle and then apply top coat to complete.
Technique 2 – Water Marble
- Base Coat
- Nail Polish – Solid Color
- White Nail Polish
- Top Coat
- Water
- Cotton Stick
- Cotton Buds
- Toothpicks
- Nail Polish Remover
Water Marble Procedure
It is recommended to use solid colour nail polishes for the marbling effects. The clear based nail polishes may not be visible on the nails.
- Apply base coat and nail polish on all nails. Using white nail polish will help make the marbling effect come out clearer than with the other colours.
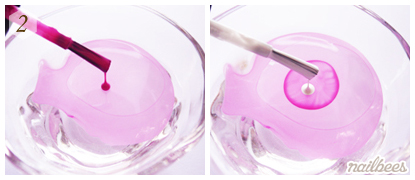
- Gently place a few drops of nail polish on the surface of the water. Switch to another colour and add a few drops in the middle of the previous polish. Repeat this step to make a few rings of nail polish.
- With the tip of a toothpick move the floating polish around to create a marbling effect.
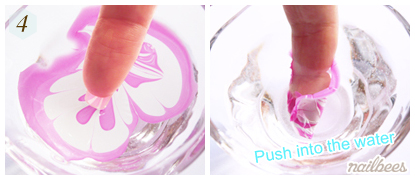
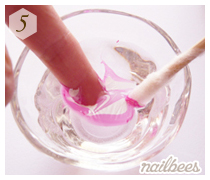
- Place the nail horizontally onto the marbling and then push the finger into the water.
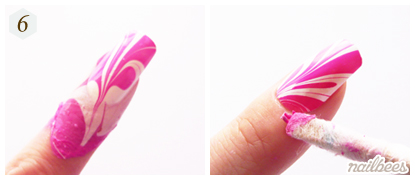
- Remove the remaining nail polish floating in the water using cotton buds.
- Take the finger out of the water and clean the skin with a cotton stick soaked with nail polish remover.
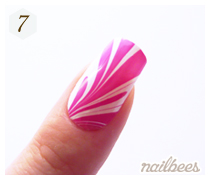
- Repeat Step 2 to 6 for the rest of the nails. Apply top coat to complete.

