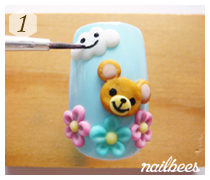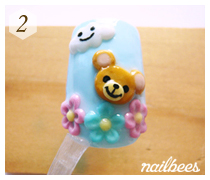
There are two main types of acrylic nail art technique.


- Emboss Technique – Emboss nail art is a raised design which will be made on the nails.
- 3D Technique – 3D nail art will be made separately from the nail (eg. on an aluminium foil sheet), and then assembled on the nail to form a design.
Acrylic Nail Art Part 1 – Emboss Technique
*This page has Acrylic Nail Art techniques only.
To learn the basics of Acrylic Nails, please click through.
The Basic Emboss
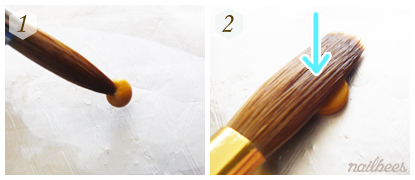
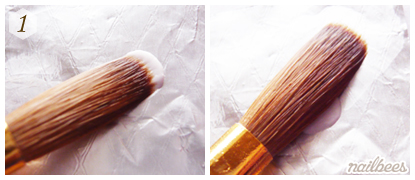
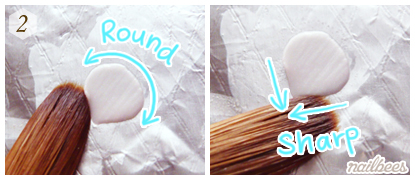
Let’s practice picking the same sized mixtures every time.
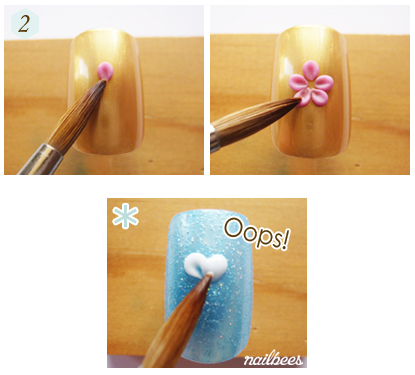
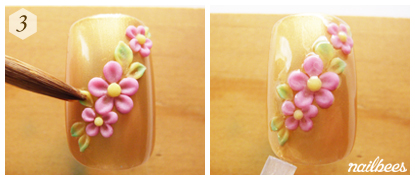
- Pick a small ball of pink acrylic mixture and place it onto the nail.
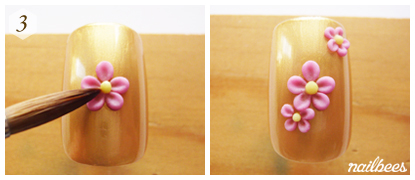
- Gently press the centre of the mixture with the brush tip to create a vertical dent. Keep adding a few more petals in the same way to make a flower. *Allow each mixture enough drying time so that they won’t merge together.
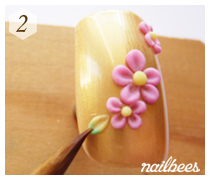
- Place a small ball of yellow mixture in the middle of the flower to complete.
Gradient Emboss
You can create a gradient mixture by picking two or more different colors at the same time.
- Pick a small amount of yellow acrylic mixture, and then pick a green mixture with the end of the yellow mixture.
- Place the mixture onto the nail and shape it into a leaf.
- Keep adding more leaves in the same way. Apply top coat to complete.
Various Emboss Shapes
These are the common shapes and techniques to start with.
Love Heart Shape
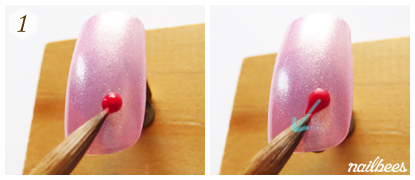
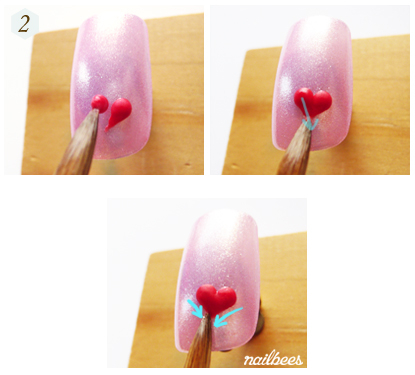
- Pick a ball of red acrylic mixture and place it onto the nail. Drag the bottom of the mixture downwards to shape one side of the love heart.
- Create the other half of the heart in the same way. Push the ends together to connect. It is easier to do this while the first mixture is still wet and soft so that both mixtures will naturally merge together.
Bow Shape
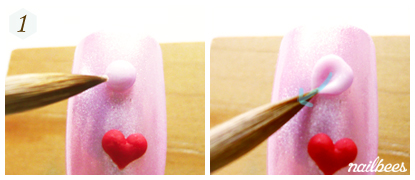
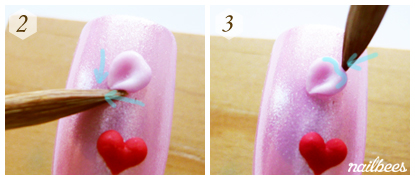
- Pick a large ball of pink acrylic mixture and place it onto the nail. Firmly press and drag the mixture to make a shape which looks like a thick petal.
- Push from both sides to narrow the end.
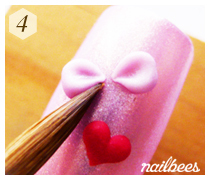
- Lightly push the other side inwards to create a dent.
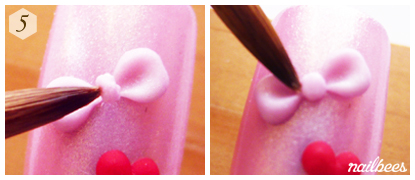
- Create the other half of the bow in the same way, keeping a small space in between.
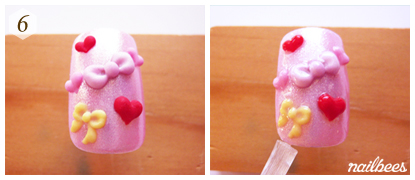
- Place a small ball of mixture in the middle and spread to cover both ends of the previous mixtures.
- Decorate as much as you want in the same way. Apply top coat to complete.
Hand Paint on Emboss Nail Art
Adding some hand painted designs will make the emboss nail art even cuter!
- Create some emboss designs. Hand paint directly onto the emboss design with Acrylic Paints. (Details on Hand Painted Nail Art)
- Allow the hand painted design to dry and apply top coat.
Acrylic Nail Art Part 2 – 3D Technique
- Biscuit Shape – The 3D basics
- Flower – Assembling the 3D parts
- Curved Leaves – Shaping the 3D parts
- Bow
- Rose
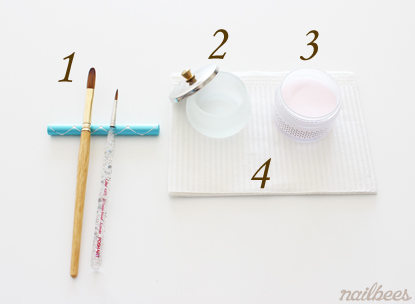
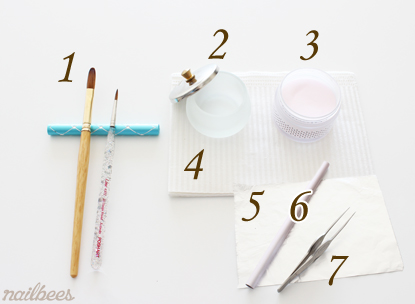
- Acrylic Nail Brushes
- Acrylic Liquid / Brush Cleaner
- Acrylic Powders
- Paper Towel
- Aluminium Foil Sheet
- Stick
- Tweezers
*This page has Acrylic Nail Art techniques only.
To learn about the basics of Acrylic Nails, please click through.
3D Nail Art – Biscuit Shape
The biscuit shape that we are going to make is NOT real food. Even though they look quite tempting, do not put them into your mouth!
- Place a ball of golden brown acrylic mixture onto a piece of aluminium foil.
- Flatten to make it into a coin shape.
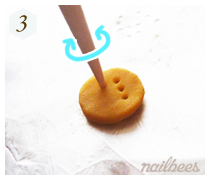
- Make some holes with a toothpick.
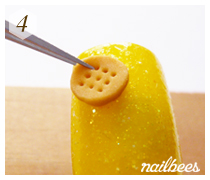
- Attach it to the nail with a small amount of acrylic mixture underneath.
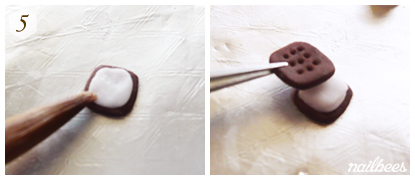
- You can make some other shapes in the same way. This one is a sandwich biscuit!
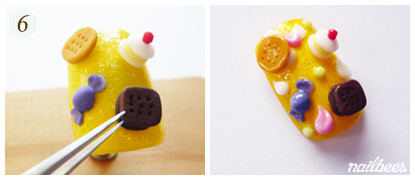
- Attach these parts with small balls of acrylic mixture as adhesive. Apply top coat to complete.
3D Nail Art – Flower
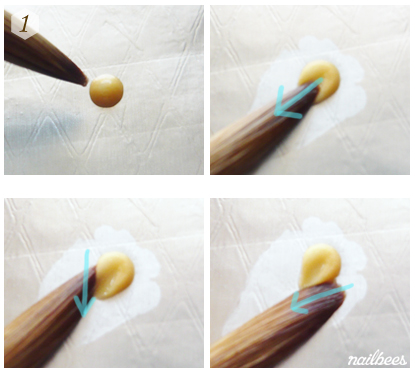
- Place a small ball of orange mixture onto a piece of aluminium foil. Shape it into a petal. Flatten the half of the mixture and stroke from both sides to sharpen the end.
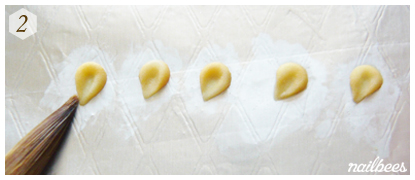
- Repeat Steps 1 and 2 to make 5 petals.
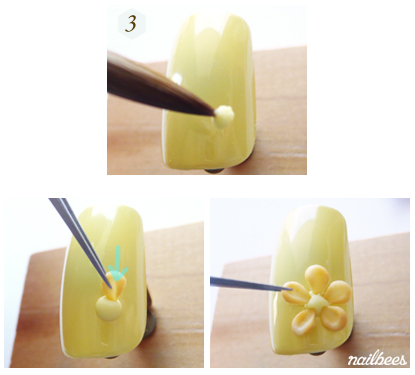
- Place a small ball of pale yellow mixture onto the nail. Then quickly stick the petals into the mixture.
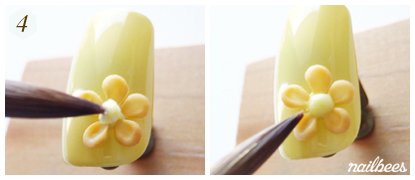
- When the petals are settled in their spot, add a small ball of mixture on top to secure the petals.
3D Nail Art – Curved Leaves
Create curved or slightly bent 3D parts using a stick shaped tools (e.g pens, a paper towel core etc.).
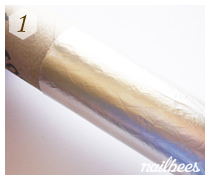
- Wrap the tool with a piece of aluminium foil and secure with sticky tape.
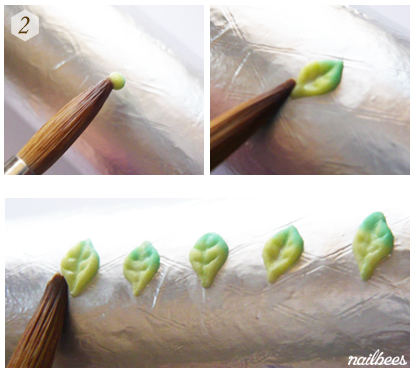
- Place a small ball of mixture and shape it into a leaf.
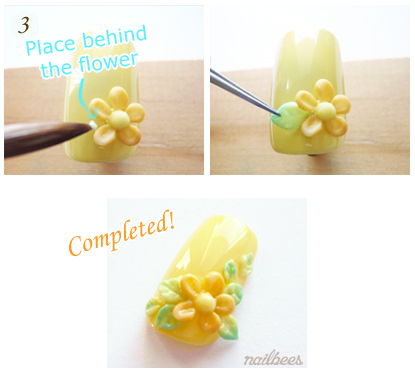
- Add a small amount of acrylic mixture on the nail and stick the leaves into the mixture. Apply top coat on top and behind the 3D parts to complete.
How to make 3D Bow
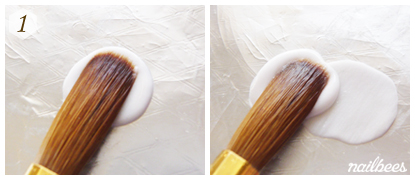
Use the Acrylic Nail Brush Cleaner instead of Acrylic Liquid to slow down the hardening process.
- Place a large ball of white mixture onto a piece of aluminium foil and flatten. Add more mixture on the side to create an oval to rectangle shape.
- Carefully remove the thin sheet of mixture from the foil.
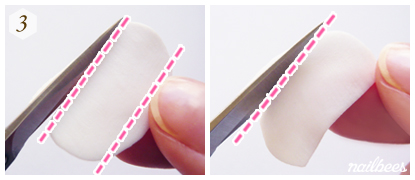
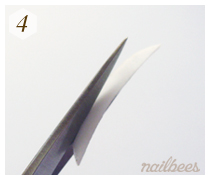
- Cut 2 straight lines along either side of the mixture to create a main sheet
- Cut 1 straight line on the extra strip from Step 3. Set aside.
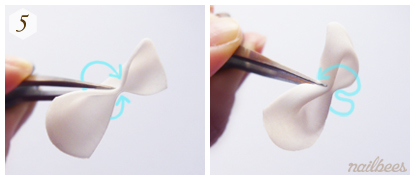
- Fold the main sheet in half and then fold the top ¼ and bottom ¼ backwards.
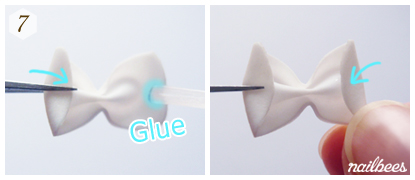
- Apply a small amount of nail glue in between the folds and hold it until they set.
- Turn it over. Apply a small amount of nail glue and fold both ends inwards.
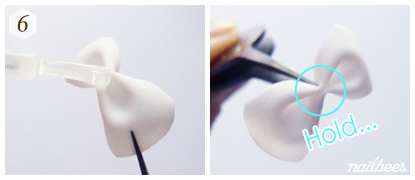
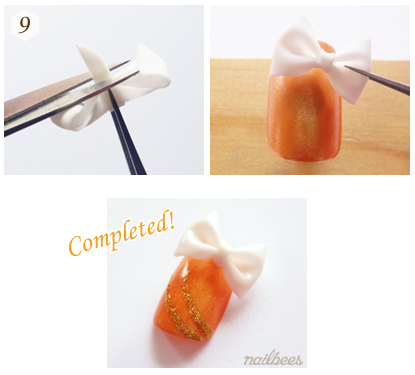
- Apply a small amount of nail glue on the top and bottom of the center and then wrap the extra strip which was set aside in Step 4. Hold it to set.
- Cut off the extra strip and attach to the nail. Apply top coat to complete.
How to make 3D rose
Use the Acrylic Nail Brush Cleaner instead of Acrylic Liquid to slow down the hardening process.
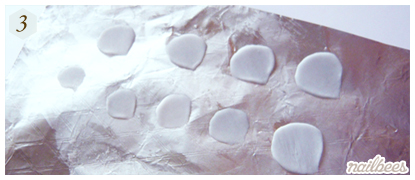
- Place a small amount of white mixture onto a piece of aluminium foil. Press to flatten.
- Shape it into a thin and wide petal.
- Repeat Step 1 and 2 to make about 8 petals in various sizes.
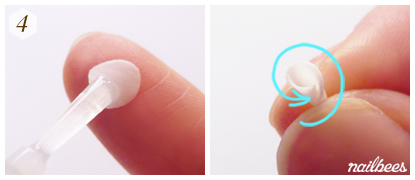
- Apply a small dot of nail glue on the base of the smallest petal and wrap it to make a swirl
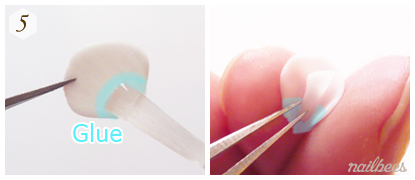
- Apply glue on another petal. Wrap just the bottom half of the first petal from Step 4.
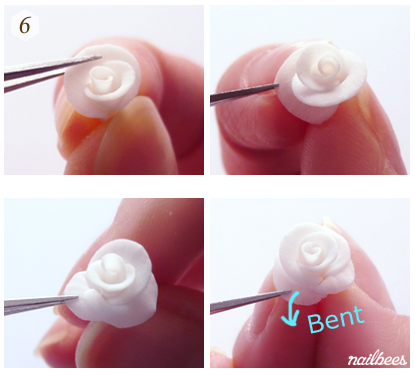
- Repeat Step 5 attach more petals. Slightly bend each petal outwards to make them look like a real rose.
- Cut the bottom to make it straight.
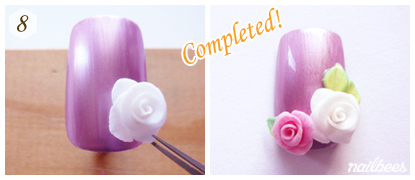
- Attach the rose onto the nail with a small amount of acrylic mixture. Apply top coat to complete.

