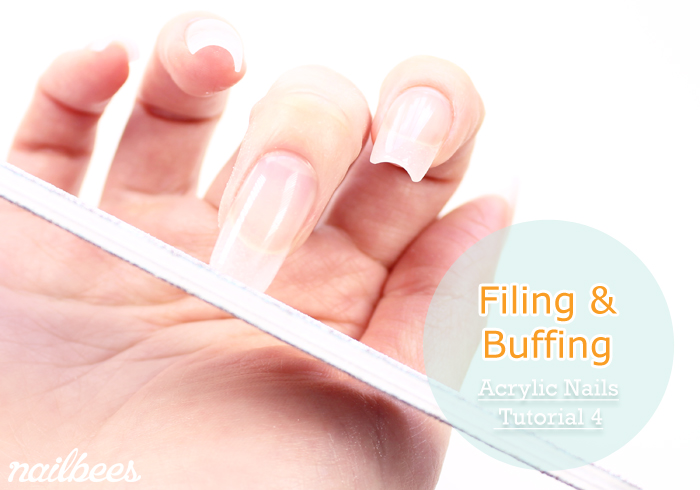
Acrylic Nail Filing & Buffing is the last step of completing acrylic nail extensions. The bumpy and cloudy looking nails will be shaped and polished to shine.
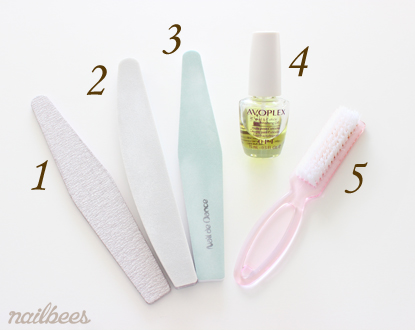
What you need
Please read through Safety Precautions for Acrylic Nails before you start.
Acrylic Nail Filing & Buffing Procedure
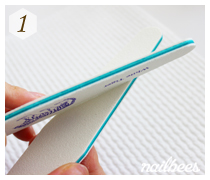
- It is recommended to stroke the edges of the nail files. This will remove the sharp corners, especially when using brand new files.
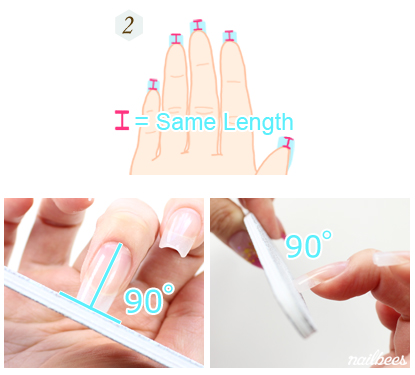
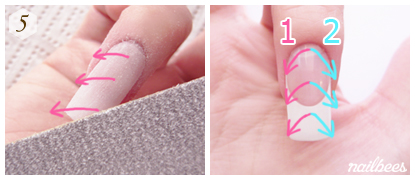
- File the free edge to adjust the length of the nails using a 180 grit file. The lengths you see from the palm side should be the same or similar. Watch the angle of the file.
- Straighten under both sides of the free edge. Gently move the file in the direction of the blue arrow. Be careful not to file the skin.
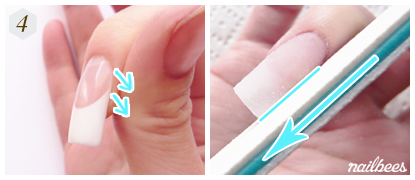
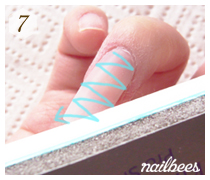
- Pull the skin down on the side and file the side wall in the direction of the blue arrow. File the other side in the same way.
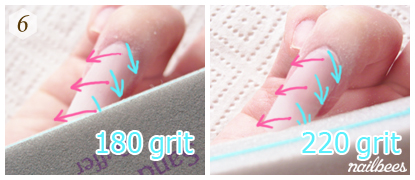
- Change to a 240 grit file and gently file the surface of the nail. Follow the direction of the pink arrows first and then follow the blue arrows.
- Change to a 220 – 280 grit sponge buffer (use 220 grit side) and buff the surface in the same way. Always buff in one direction and do not rub too hard.
- Buff the entire nail evenly with a 280 grit buffer. You can buff sideways from this point.
- Remove dust and wash hands thoroughly. Towel dry. Or use the nail brush and a bowl of water.
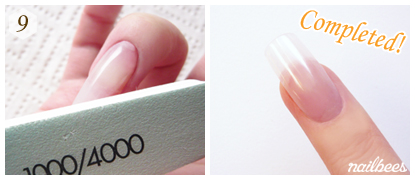
- Buff with a shiner. Use the rough side first and then finish with the smooth side. Wash the hands and dry again. Apply cuticle oil around the cuticle to compete Acrylic Nail Filing & Buffing.
Next step in Acrylic Nails – Acrylic Overlay

