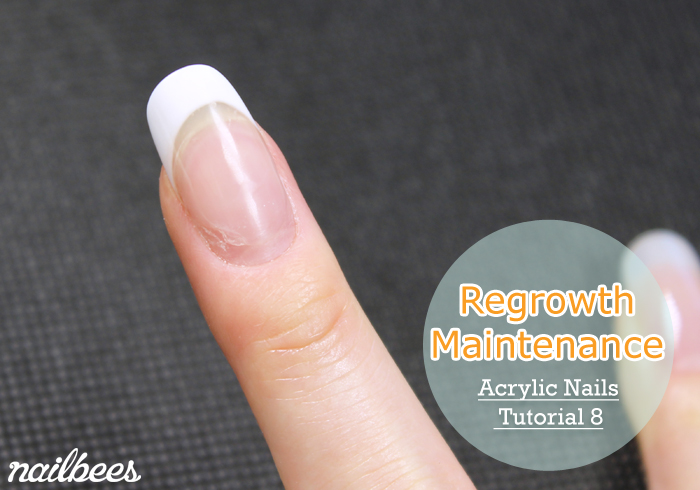
There are two ways to maintain the acrylic extensions / acrylic french nails.

- Acrylic Fill In
- Acrylic Back Fill
Acrylic Fill In
Acrylic Fill In treats the acrylic regrowth at the base of the nails. The lifting can be removed and the exposed natural nail will be covered with fresh acrylics. This technique can also be called Infill.
What you need

- Nail File (180, 240 grit)
- Sponge Buffer (220 grit)
- Nail Machine (Only if you had)
- Cuticle Knife
- Dust Brush
- Anti-bacterial Spray
- Paper Towel
- Pre-primer
- Primer
- Acrylic Liquid
- Acrylic Powder (Clear/Pink)
- Acrylic Nail Brush
Please read through Safety Precautions for Acrylic Nails before you start.
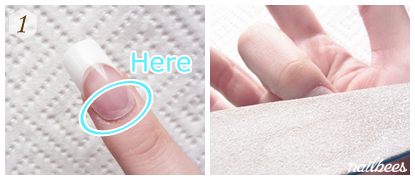
Acrylic Fill In Procedure
- File to reduce the thickness of the acrylics at the base with a 180 grit file. When the acrylics are thin enough, switch to a 240 grit file to remove the lifting. Be careful not to file the natural nail.
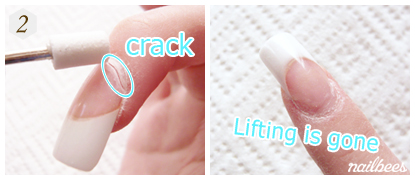
- If you have a Nail Machine, use a barrel shape bit to speed up the process. Stop drilling when there is a crack in the acrylic to avoid damaging the natural nail. Switch to a file to remove the lifting.
- Buff with a 220 grit sponge buffer to remove bumps. Gently buff the natural nails as well. Remove dust.
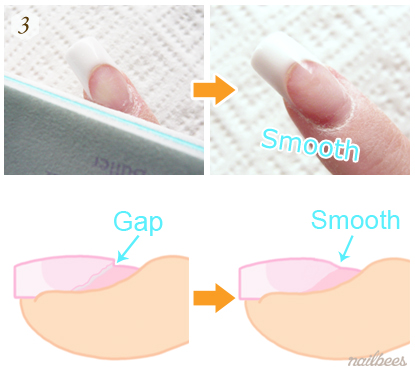
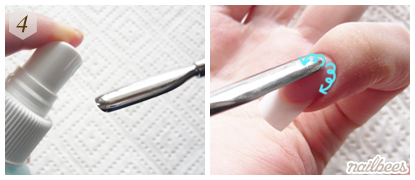
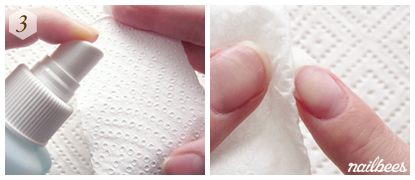
- Spray anti-bacterial spray onto the cuticle knife and push up cuticle.
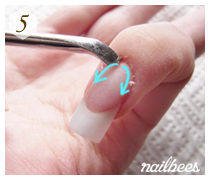
- Scrape off excess cuticle and acrylic dust.
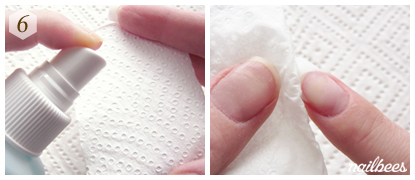
- Spray onto a piece of paper towel and wipe nails thoroughly to remove dust.
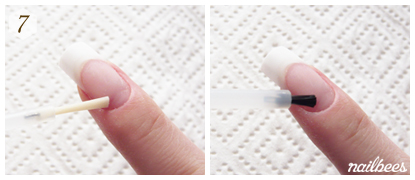
- Apply pre-primer and primer on exposed natural nails.
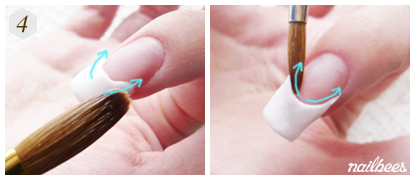
- Apply a ball of acrylic mixture onto the natural nail. Stroke to blend into the existing acrylics.
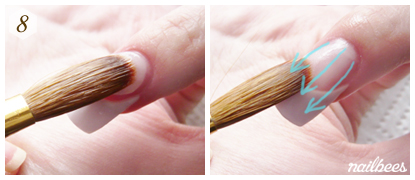
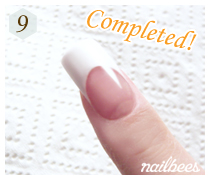
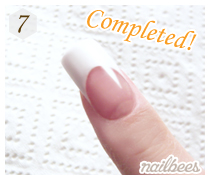
- Follow Filing & Buffing to complete.
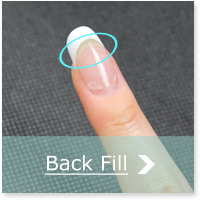
Acrylic Back Fill
Acrylic Back Fill repositions the smile lines which have moved forward with the nail growth.
This method is also called Realign.
What you need

- Nail File (180 grit)
- Nail Machine (Only if you had)
- Cuticle Knife
- Dust Brush
- Anti-bacterial Spray
- Paper Towel
- Acrylic Liquid
- Acrylic Powder (White & Clear/Pink)
- Acrylic Nail Brush (Large & Small)
Please read through Safety Precautions for Acrylic Nails before you start.
Back Fill Procedure
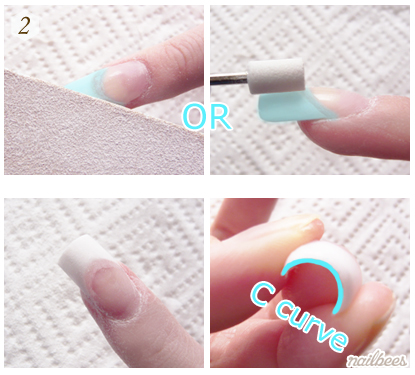
- File down to adjust the length of the nails with a 180 grit file.

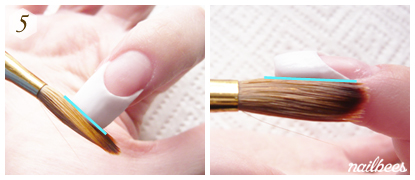
- Hold the file horizontally and file the entire free edges (blue coloured part) to evenly make them thinner. If you had a nail machine use a barrel bit to speed up the process. Do not remove the free edge completely to keep the C curve created in the previous application.
- Spray anti-bacterial spray onto a piece of paper towel and wipe off the remaining dust.
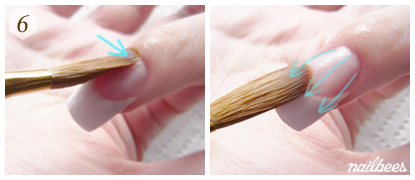
- Apply a ball of white mixture onto the free edge. Spread evenly and create the smile line.
- Straighten the end and both sides of the free edge.
- Apply a ball of clear or pink mixture onto the nail plate. Stroke to make the surface smooth.
- Follow Filing & Buffing to complete.
Next step in Acrylic Nails – Remove Acrylic Nails


